French Intensive Raised Bed Gardening came out of wartime gardens in French cities, as a way to grow food densely in small areas.
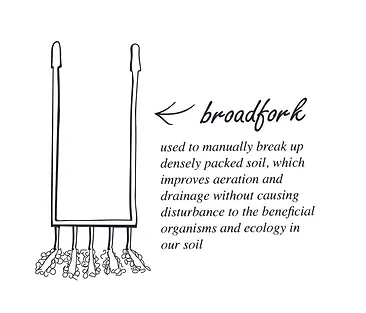
It’s a method that also works well for making less than ideal soil arable and plantable—like the compacted, caliche-laced dirt of New Mexico, for instance. People in areas with less brittle climates and loamier soil may not need such an aggressive and labor-intensive approach. If you have squishier, healthier soil—and in subsequent years and replantings of your initial raised beds, you will—you can use a broadfork (like the Meadowland Broadfork which we sell by special order at MG) to aerate the soil without inverting it or disturbing the soil structure.
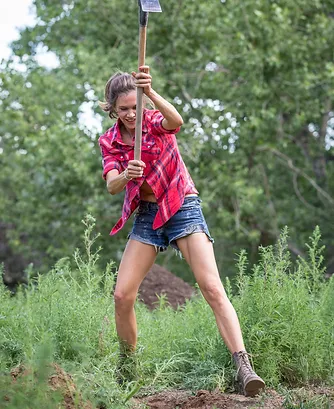
But in general, arid ecoregions like New Mexico have fragile soil with low organic matter. The soil at our farm was so compacted and eroded I would not have been able to get the tines of the fork pushed more than two inches into the dirt.
Pleasure is our profoundest enactment of our connection to the earth.
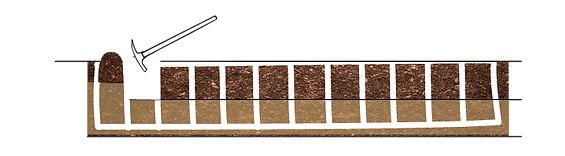
By double digging beds, we went from this:
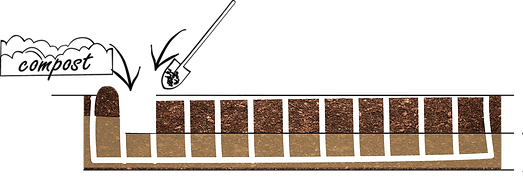
to this...
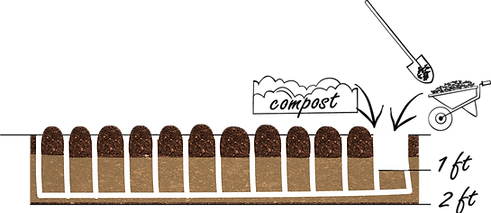
to this...
Previous slide
Next slide
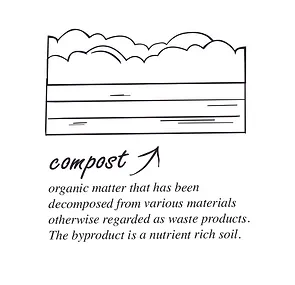
Remember a healthy soil is about 50% pore space. So much for “terra firma,”—good dirt is a matrix of emptiness that can fill up with water or air or both. Everything a plant needs it gets through a porous soil matrix: water, aqueous nutrients, easily penetrable earth for roots to grow. Double digging kick starts the process, and then by composting, cover cropping and encouraging microorganisms in the soil, you can build soil fertility and topsoil depth over time.
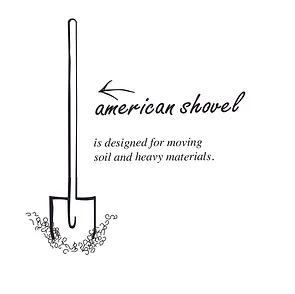
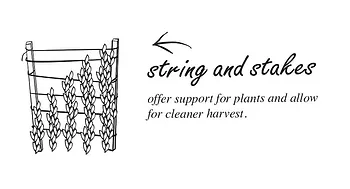
Here’s how it goes! First, the tools:
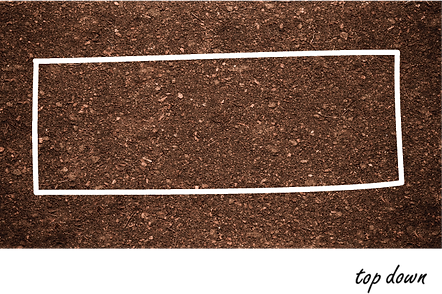
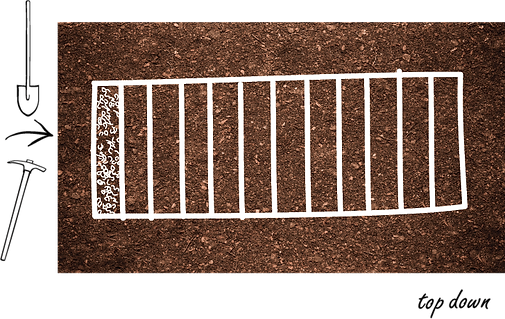
Then, stake or draw out your bed area.
It will be a rectangle that is fifteen or twenty feet long, and narrow enough that you can easily reach the middle from the perimeter. Once you’ve dug the bed, and fluffed up all the soil, you don’t want to step on it! So I usually make them about four feet wide.
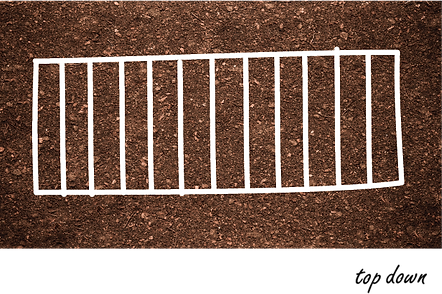
Now—in your imagination, or if you want sketched in the dirt
with a shovel or a stick, divide the rectangle into 1 foot subsections. Like this:
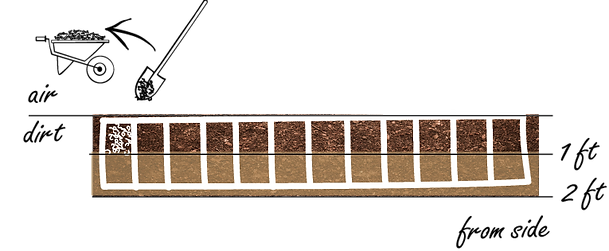
Then, in the first foot-wide segment,
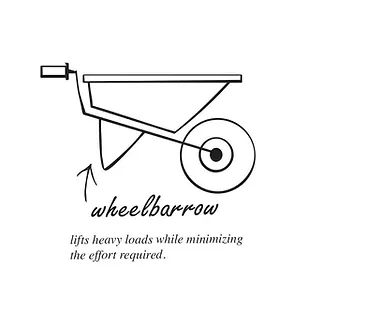
you are going to dig out the top foot of soil (to a distance of one foot deep) and put it in a wheelbarrow.
After you have peeled off a foot of top soil,
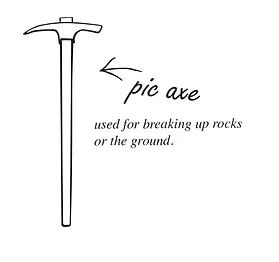
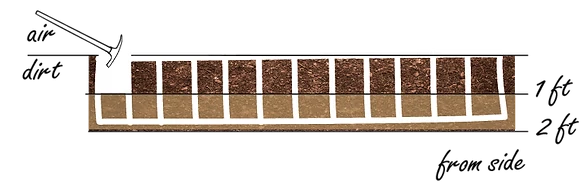
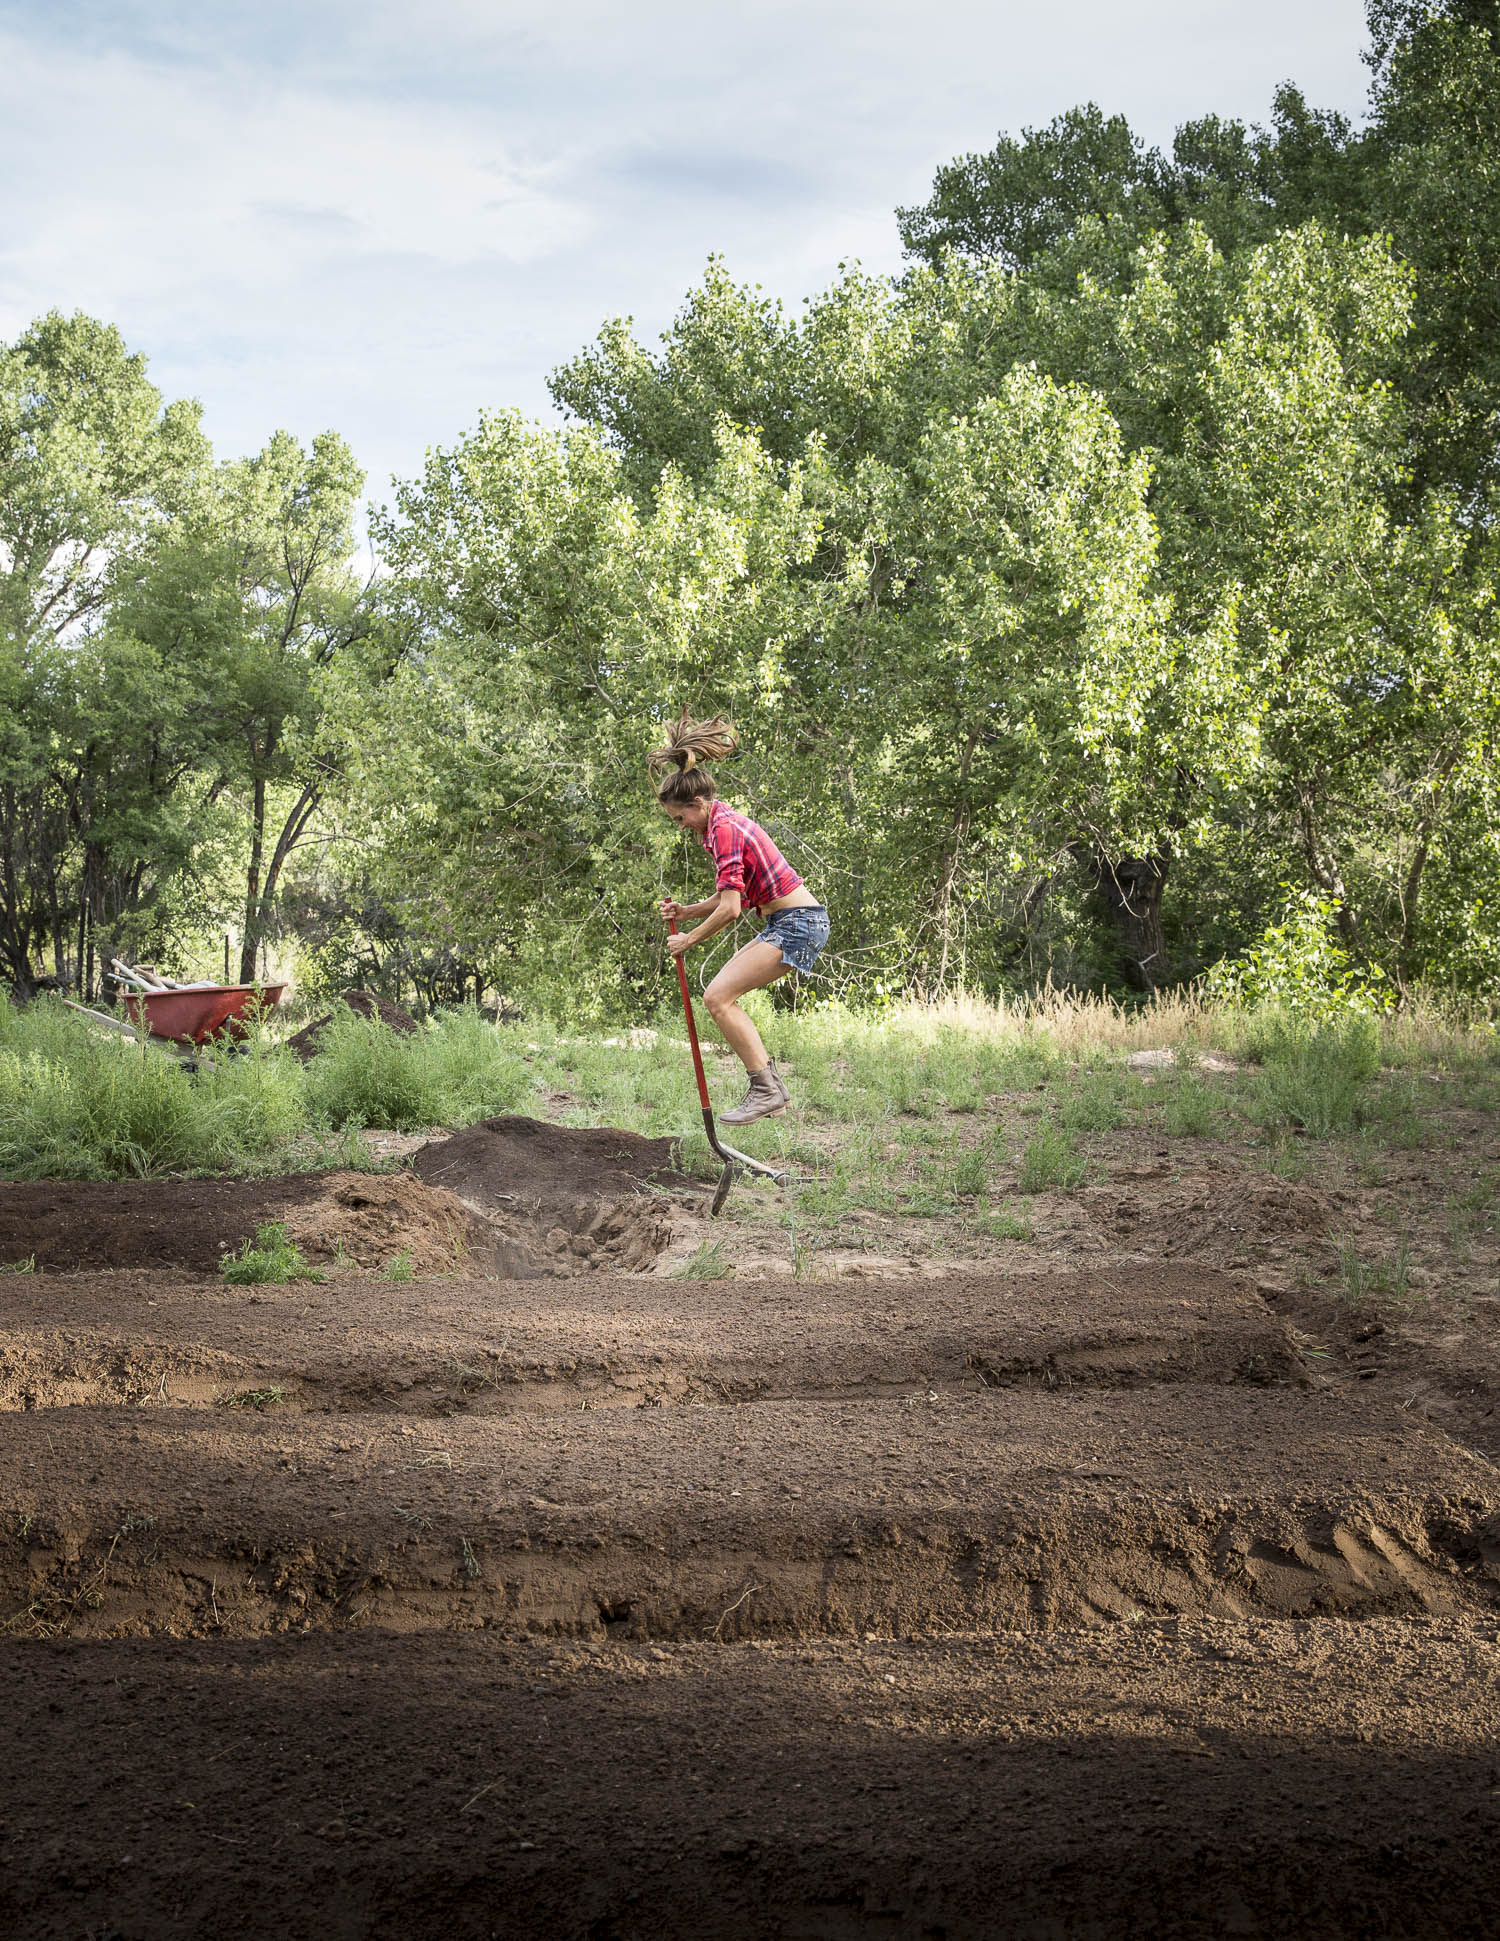
you should be looking at exposed subsoil that is a bit lighter in color (even less organic matter). Now, take your pick and break up that soil volume, leaving it in place but really breaking up compaction and clumps that come up and pesky caliche.
Now switch back to your shovel
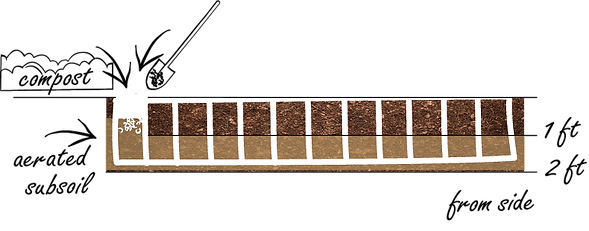
and move the layer in the next section onto the subsoil you’ve just loosened. Add a little compost into the soil you are shuffling.
Switch back to the pick, and break up the exposed subsoil again.
Then, back to your shovel and again move that next foot onto the floofed subsoil, again adding compost.
Don’t worry if it looks like a messy pile at this stage—we will smooth and shape it into a nice rounded rectangle at the end.
You continue doing this shuffle thing, loosening the bottom foot of subsoil and shoveling the top foot.
Until you reach the end, which will look something like this.
Now you put that soil you put in the wheelbarrow, back when you were fresh and dewy, on the last section.
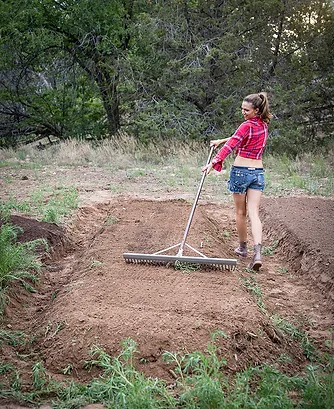
Then you shape your beds. Level the top with a grading or metal rake, and slope the sides in a gentle angle.